Table of Contents
- Why Sanitizing Rodent Walls Requires a Specific Process
- Signs of Rodent Damage in Walls
- Essential Rodent Cleanup Safety Gear
- Step 1: Prepare the Area and Remove Contaminated Materials
- Step 2: How to Disinfect Rodent Urine and Droppings
- Step 3: Sanitize the Wall Cavity and Neutralize Odors
- Step 4: Verify the Cleanup and Seal Entry Points
- When to Call a Professional Rodent Cleanup Service
- Frequently Asked Questions
Last Updated: September 9, 2026
Why Sanitizing Rodent Walls Requires a Specific Process
Rodent walls are not a surface-cleaning job. To sanitize rodent walls properly means addressing a hidden ecosystem of urine, droppings, and nesting debris that has soaked into drywall, insulation, and structural framing. A quick wipe with bleach leaves behind the airborne particles and pathogens that cause health concerns like hantavirus and salmonella.
The difference between a cosmetic cleanup and a true sanitization is significant. The process requires removing contaminated materials before any disinfectant can work, which is why most DIY attempts fail.
Spraying bleach directly on rodent droppings or urine is dangerous. Bleach reacts with the proteins in urine and feces to release toxic fumes. Always wet the material with a disinfectant first, let it soak, then remove it.
Signs of Rodent Damage in Walls
Rodent damage in walls is often silent for weeks, which is why identifying the signs of rodent damage in walls early matters. Gnaw marks on baseboards, scratching sounds at night, and a musky ammonia odor are the first clues. Look for droppings near entry points, grease marks along pipes and edges, and urine stains that glow under a UV light.
The damage goes beyond contamination. Rodents chew through electrical wiring, which creates a fire hazard, and they compress insulation in nesting areas, reducing its thermal performance. CDC guidance on rodent control and prevention notes that structural damage from rodents can compromise the integrity of a building over time. If you notice any of these signs, assume the contamination has spread into the wall cavity itself, not just the visible surfaces.
Essential Rodent Cleanup Safety Gear
Rodent cleanup safety gear is non-negotiable because the health risks are real. Before you touch anything, assemble the following:
- N95 respirator or higher-rated respiratory protection
- Rubber gloves that extend past your wrists
- Disposable coveralls or clothing you can discard
- Safety goggles to protect eyes from airborne particles
- Shoe covers or dedicated boots
The gear protects you from hantavirus, which is transmitted through contact with rodent urine, droppings, or nesting materials. National Park Service guidance on hantavirus prevention emphasizes that respiratory protection is the single most important piece of equipment. Also open windows and doors to create cross-ventilation, and turn off any HVAC system so contaminated air does not circulate through the house.
Step 1: Prepare the Area and Remove Contaminated Materials
Preparation determines whether the sanitization actually works. Clear the room of furniture and personal items, then seal off the work area with plastic sheeting to prevent cross-contamination. Have heavy-duty trash bags ready for double bagging all waste.
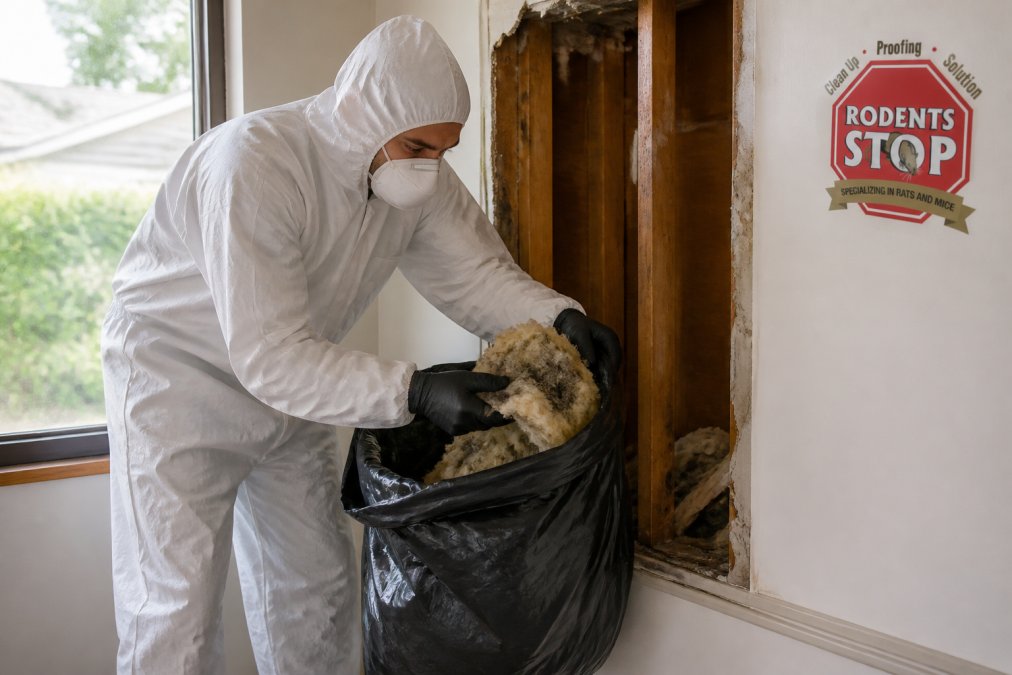
Remove the contaminated materials first: soiled insulation, droppings, nesting materials, and any dead rodents. Do not vacuum or sweep dry debris, as this sends airborne particles into the air. Instead, spray the material with a disinfectant, wait for it to soak, then carefully place it into the trash bag. Seal the bag, place it inside a second bag, and seal that one too.
Step 2: How to Disinfect Rodent Urine and Droppings
How to disinfect rodent urine and droppings comes down to using the right product in the right order. Standard household bleach is effective but must be diluted correctly: one part bleach to nine parts water, or roughly one cup of bleach per gallon of water. A commercial disinfectant registered as effective against rodent-borne pathogens is a stronger choice.
Spray the contaminated surface thoroughly with the disinfectant and let it soak for at least 10 minutes. This dwell time is what kills the pathogens, not the wiping itself. After the soak, wipe the area clean with paper towels and dispose of them in the double-bagged waste.
Material-Specific Disinfection for Wall Cavities
The inside of a wall is not a single surface. It is a composite of porous and non-porous materials, each reacting differently to disinfectants. A one-size-fits-all approach fails because it doesn’t account for how deep contamination penetrates.
Non-Porous Surfaces (Glass, Metal, Plastic, Sealed Concrete): These are the easiest to sanitize. A disinfectant spray with a 10-minute dwell time, followed by a wipe, is generally sufficient. The key is pre-cleaning any visible debris before disinfection, as organic matter can shield pathogens.
Porous Surfaces (Unfinished Wood Studs, OSB Sheathing, Plywood): Unfinished wood is highly absorbent. Rodent urine soaks into the grain, carrying pathogens and odor-causing uric acid below the surface. A simple surface spray will not reach these contaminants. Apply a disinfectant liberally until the wood is visibly saturated, allowing a longer dwell time of 15-20 minutes. After drying, a second application of an enzymatic cleaner is often necessary to break down the uric acid crystals that bleach cannot neutralize. Where wood is severely stained or has begun to soften or rot from prolonged urine exposure, the affected section must be cut out and replaced. This is not a cosmetic issue; it is a structural and health one.
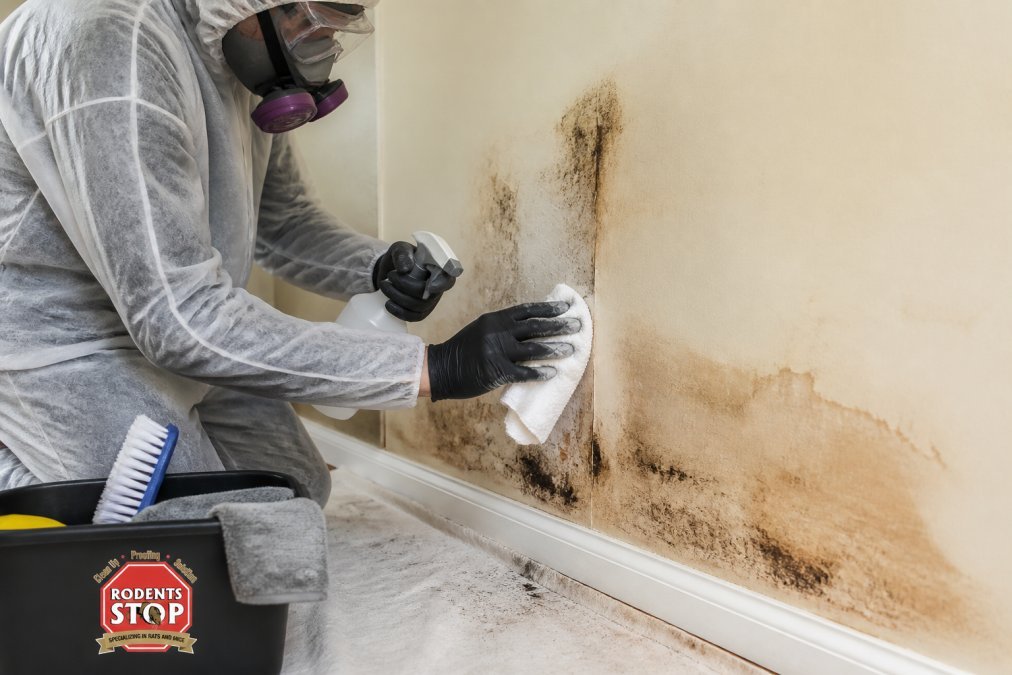
Drywall (Gypsum Board): Drywall is highly porous and will wick moisture and contaminants deep into its core. Once contaminated by rodent urine or droppings, it cannot be effectively cleaned. The paper facing and gypsum core are compromised, and the material will continue to harbor odors and potential pathogens. The only safe remediation is to cut out the contaminated section, extending the cut at least 12 inches beyond any visible staining, and replace it.
Fiberglass Insulation: This material is a sponge for urine and a haven for nesting materials. It is impossible to clean. Any insulation that has been in contact with rodents or shows signs of contamination must be removed and discarded. Do not attempt to spray and reuse it, as the fibers will trap contaminants and release them over time.
Never mix bleach with other cleaning agents, especially ammonia-based products. The combination creates chloramine gas, which is highly toxic and can cause severe respiratory damage. Always use disinfectants in a well-ventilated area.
The Limitation of Bleach on Urine
A common misconception is that bleach eliminates urine odors. Bleach is an effective disinfectant against many pathogens, but it does not break down the uric acid crystals found in dried urine. These crystals are hygroscopic, meaning they absorb moisture from the air, which reactivates the odor. This is why a wall can smell clean after a bleach wipe but reek of ammonia weeks later. For urine contamination, an enzymatic cleaner specifically designed for uric acid is required after the initial disinfection.
Step 3: Sanitize the Wall Cavity and Neutralize Odors
Sanitizing the wall cavity itself is the step most guides skip, and it is where the real work to sanitize rodent walls happens. After removing contaminated insulation, you are left with an open void that requires a systematic approach.
Step 3.1: Initial Inspection and Dry Debris Removal
Before applying any liquid, inspect the interior of the cavity with a bright work light. Look for visible droppings, nests, or dead rodents that may have fallen deeper into the void. Use a HEPA-filtered vacuum to remove this dry debris. Never use a standard vacuum or a broom, as this will aerosolize contaminated particles. The HEPA filter traps particles as small as 0.3 microns, preventing them from being recirculated into your living space.
Step 3.2: The Two-Step Disinfection Process
A single pass with a disinfectant is rarely sufficient for a wall cavity that has been a rodent highway.
First Pass – General Disinfection: Mix a disinfectant according to the label instructions for rodent-borne pathogens. Using a garden sprayer or a pump sprayer with a wide-angle nozzle, thoroughly saturate all interior surfaces of the cavity, including the studs, the interior face of the exterior sheathing, and the sill plate. The goal is to wet the surfaces completely, not just mist them. Allow this to dwell for the full contact time specified on the product label, typically 10-15 minutes.
Second Pass – Odor and Crystal Neutralization: After the first disinfectant has dried, inspect the cavity again with a UV light. Urine stains will fluoresce a yellow-green color, indicating where uric acid crystals have formed. Spray these areas, and the entire cavity as a precaution, with an enzymatic cleaner specifically formulated for uric acid. These cleaners contain live enzymes that digest the crystals, eliminating the odor at its source. Allow the enzymatic cleaner to dry completely, which can take several hours or even overnight.
Step 3.3: Advanced Odor Neutralization for Severe Cases
For infestations that have persisted for months or years, uric acid may have soaked deep into the wood framing or even into the concrete foundation sill plate. In these cases, surface-level enzymatic treatment may not be enough. Two advanced techniques are used by professionals:
Thermal Fogging: This process uses a machine to create a fine, dry fog of an odor-neutralizing agent. The microscopic fog particles penetrate deep into porous materials like wood and drywall that liquid sprays cannot reach. The fog fills the entire cavity and neutralizes odor molecules on contact.
Ozone Treatment: Ozone (O3) is a powerful oxidizer that can destroy odor-causing compounds and many biological contaminants. An ozone generator is placed in the room, and the area is sealed for a period of time, typically 3-6 hours. The ozone gas permeates the wall cavity and oxidizes the odor molecules. This treatment is highly effective but must be done with extreme caution. Ozone is harmful to humans and pets, so the area must be completely vacated during treatment and thoroughly ventilated afterward. Ozone can also degrade certain materials like rubber and some plastics, so it should be used judiciously.
After any odor treatment, do not immediately close up the wall. Leave the cavity open and allow it to air out for 24-48 hours. This allows any residual moisture from the cleaning process to evaporate and ensures that the odor has been fully neutralized before you install new insulation and drywall.
Step 3.4: Applying a Protective Sealant
Once the cavity is clean, dry, and odor-free, a professional will often apply a shellac-based primer or sealant to the interior wood surfaces. This encapsulates any remaining odor molecules that were not fully neutralized, providing a permanent barrier, and creates a non-porous surface resistant to future moisture and staining.
| Contamination Type | Material | Treatment | Outcome |
|---|---|---|---|
| Urine stains | Wood framing | Enzymatic cleaner, then shellac-based sealant | Odor eliminated and encapsulated |
| Droppings | Drywall | Cut out and replace | Contamination removed |
| Nesting debris | Insulation | Remove and dispose | Cavity cleared |
| Deep-seated odor | Wall cavity | Thermal fogging or ozone treatment | Neutralized at the molecular level |
| Porous wood | Studs and sheathing | Saturation with disinfectant, then enzymatic cleaner | Pathogens killed, odor source broken down |
Step 4: Verify the Cleanup and Seal Entry Points
Verification is the step that separates a professional sanitization from a surface wipe. After the disinfectant has dried, inspect the area again under good lighting. Look for any remaining urine stains using a UV light, and check for lingering odors after 24 hours. If either remains, repeat the treatment.
Sealing entry points is what prevents the next infestation. Rodents can squeeze through gaps as small as a quarter-inch, so inspect the exterior of your home for holes around pipes, vents, and rooflines. UC Agriculture and Natural Resources rodent management guidance recommends sealing all openings with steel wool and caulk, as rodents can gnaw through most other materials. This step is essential because cleaning a wall that rodents can re-enter is wasted effort.
When to Call a Professional Rodent Cleanup Service
Some situations demand professional equipment and experience. If the infestation has soaked through large sections of insulation, reached HVAC ductwork, or created structural damage, a professional service is the safer choice. The risk of incomplete decontamination is too high to gamble with your family’s health.
Rodent cleanup experts handles infestations of all sizes across Los Angeles, Ventura, San Bernardino, Riverside, and Orange Counties. Our process includes contaminated insulation removal, HEPA vacuuming, deep cleaning and sanitizing, odor and pheromone treatment, and professional replacement of damaged insulation. For extensive contamination, our rodent infestation cleanup service ensures the entire wall system is restored to a safe condition. We also inspect the property to identify potential entry points, addressing the source of the problem rather than just the symptoms.
Sanitizing rodent walls is a multi-step process that requires the right safety gear, the correct disinfectants, and the discipline to remove contaminated materials before cleaning. The health risks from hantavirus and salmonella make shortcuts unacceptable. If the job feels overwhelming or the contamination is extensive, professional cleanup ensures the area is restored to a safe, sanitary condition.
Frequently Asked Questions
Can I use standard household cleaners to sanitize rodent waste?
No. Standard household cleaners kill some germs but do not deactivate the viruses and bacteria found in rodent waste, such as hantavirus or salmonella. You need a disinfectant proven effective against these pathogens. A solution of one part household bleach to nine parts water is effective, but it must be applied after cleaning the area with detergent. Let the bleach solution sit on the surface for at least five minutes, then rinse. Always use a dedicated disinfectant sprayer and follow the label instructions for contact time.
Is it necessary to remove drywall to properly sanitize a wall?
Sometimes. If rodents have nested inside the wall cavity, urine has soaked into the drywall, or the insulation is heavily contaminated, removal is necessary. Porous materials like drywall and insulation cannot be fully decontaminated. In these cases, you must cut away and dispose of the affected drywall, remove the contaminated insulation, and sanitize the exposed wall studs and cavity. This is the only way to eliminate the odor and health hazard. If the damage is limited to surface droppings, a thorough cleaning may be enough.
What are the health risks of having rodents in your walls?
Rodents in walls create several health hazards. Their droppings, urine, and nesting materials can carry pathogens like hantavirus, which causes a severe respiratory disease, and salmonella, which leads to food poisoning. As these materials break down, they can become airborne and contaminate the air you breathe. Rodents also bring in fleas, mites, and ticks. Their gnawing can damage electrical wiring, creating a fire risk. Proper sanitation removes these pathogens and reduces the chance of illness and structural damage.
When should you call a professional for rodent cleanup?
Call a professional if the contamination covers a large area, such as an entire wall or attic, or if you cannot identify and seal all entry points. Professionals have commercial-grade equipment and follow safety protocols. They handle structural remediation, like removing and replacing contaminated drywall and insulation, and use specialized treatments to neutralize odors at the source. If you have health conditions like asthma or a compromised immune system, do not attempt the cleanup yourself. Professional services ensure the job is done safely and thoroughly.