
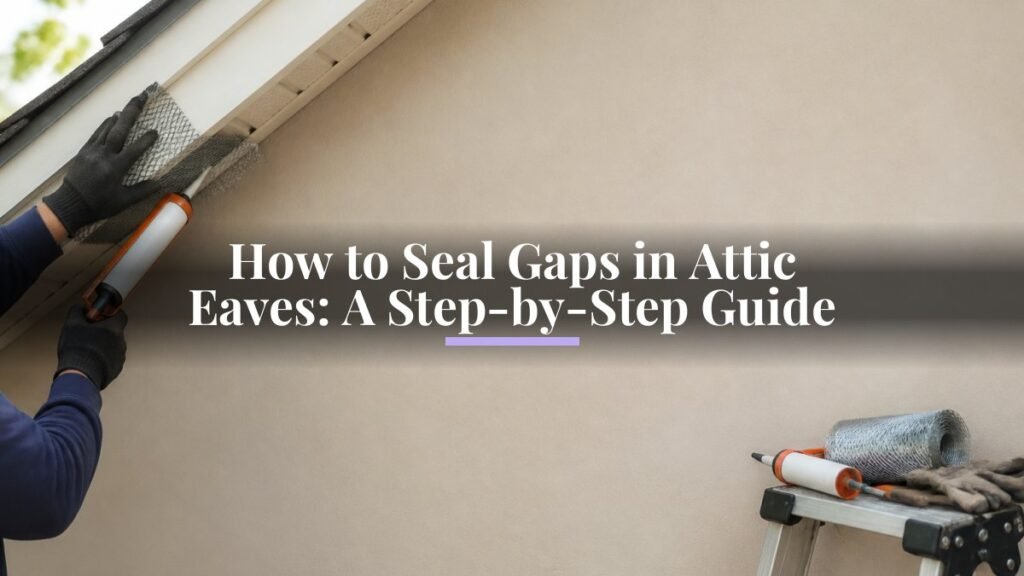
Last Updated: October 26, 2026
Quick Summary
How to seal gaps in attic eaves depends on gap size: use heat-rated caulk for hairline to 1/4 inch gaps, low-expansion spray foam for 1/4 inch to 1 inch gaps, and rigid foam board or sheet metal for openings wider than 1 inch. Always preserve soffit-to-ridge ventilation by using baffles and perforated weatherstripping at vent openings.
- Wear a dust mask, gloves, and eye protection when working in the attic and never step on insulation alone
- Clean each gap thoroughly with a wire brush to remove debris and old sealant before applying new material
- Install baffles to protect ventilation paths and never seal soffit vents or ridge vents with solid caulk or foam
- Allow caulk 24 to 48 hours to cure and spray foam 8 to 24 hours before disturbing the seal
- Use sheet metal and fire-rated sealant for any gap within required clearance to a chimney, flue, or heat source
Table of Contents
- Why Sealing Attic Eaves Matters for Your Home
- Inspecting and Locating Gaps in Your Attic Eaves
- Understanding the Gap Between Gable Wall and Attic Roof
- Choosing the Right Materials by Gap Size
- Maintaining Attic Eave Ventilation While Sealing
- Installing Rodent-Proof Attic Vents
- Step-by-Step Sealing Process for Attic Eaves
- Common Mistakes to Avoid When Sealing Eaves
- Frequently Asked Questions
Why Sealing Attic Eaves Matters for Your Home
Learning how to seal gaps in attic eaves can address air leaks and rodent entry points.
Rodents can contaminate insulation and damage wiring.
This guide walks you through how to seal gaps in attic eaves.
Inspecting and Locating Gaps in Your Attic Eaves
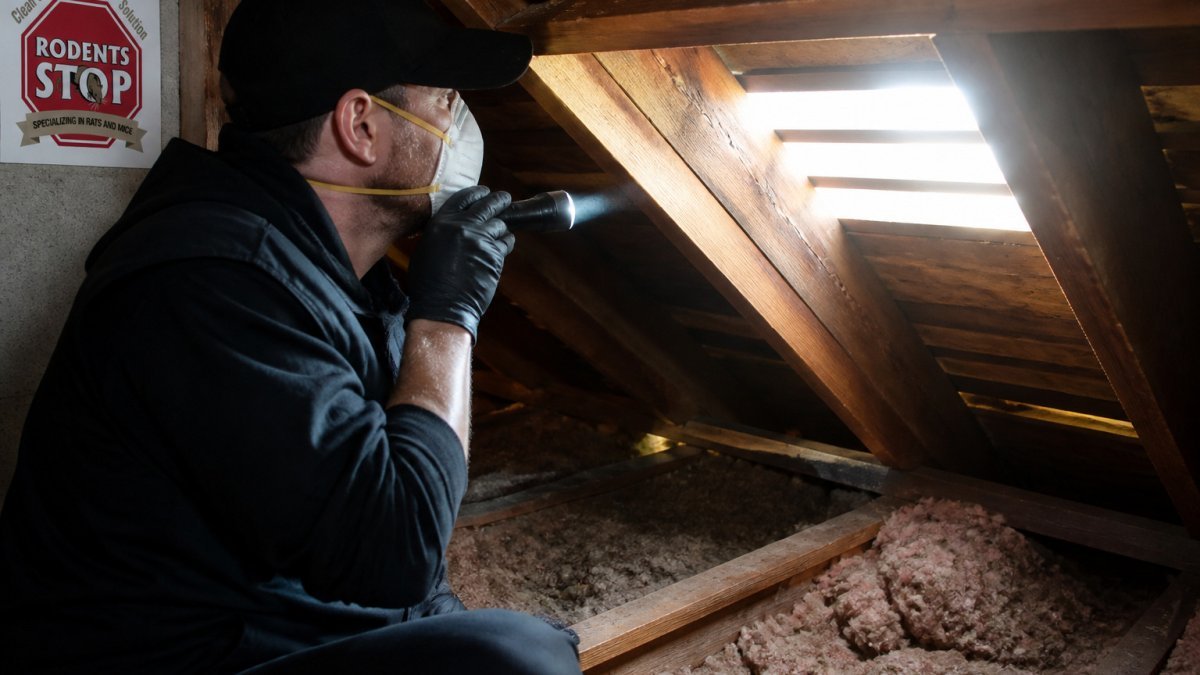
Before you seal anything, find the gaps. Get into your attic and look carefully where the ceiling meets the roof.
Access and Safety Considerations
Attic safety matters:
- Use a sturdy ladder with someone spotting you from below
- Wear a dust mask and gloves, attic dust contains allergens and potentially harmful particles
- Bring a flashlight and headlamp
- Watch for electrical wires and don’t step on insulation alone, it won’t support your weight
- Never block ventilation openings with your body or tools
Signs of Air Leaks and Rodent Entry Points
Air leaks and rodent entry points often appear together. Look for:
- Visible gaps or cracks where the ceiling meets the roof line
- Daylight visible through openings along the eaves
- Rodent droppings clustered near gaps (small, dark pellets)
- Chewed insulation or nesting materials around openings
- Staining or discoloration around gaps from rodent activity or moisture
- Musty or foul odors that suggest rodent presence
If you find droppings or nesting materials, the infestation may be larger than a simple sealing project. How to Identify Rodent Entry Points in Your Home covers recognizing entry points before sealing. For contaminated insulation, professional Rodent Infestation Cleanup may be needed first.
Understanding the Gap Between Gable Wall and Attic Roof
The space where your gable wall meets the attic roof is a common problem area, where the triangular end wall meets the sloped roof line.
Gaps here can be hidden from view.
The gap between gable wall and attic roof can range from hairline to several inches wide.
Choosing the Right Materials by Gap Size
Different gaps need different materials. Gap size, proximity to heat sources, attic temperature swings, and whether the gap borders a ventilation path all affect which product will hold. The wrong product wastes time and money and can create a fire or moisture hazard. Use this decision guide before you buy anything.
Quick Decision Guide
| Gap width | Best primary material | When to choose it | Avoid when |
|---|---|---|---|
| Hairline to 1/4 inch | Heat-rated caulk or perforated weatherstripping | Cracks along trim, ceiling-to-wall joints, and narrow eave seams | Gap is wider than 1/4 inch or surfaces are dirty or wet |
| 1/4 inch to 1 inch | Low-expansion spray foam | Irregular gaps around framing, gable wall seams, and penetrations | Within 6 inches of a heat source or where foam would block a soffit vent |
| 1 inch and wider | Rigid foam board plus sealant, or sheet metal backing | Large openings at gable walls, missing sheathing, or rodent-chewed holes | Opening is a required ventilation path |
| Any size near chimney or flue | Sheet metal and fire-rated sealant | Within required clearance to chimney or flue | Never use spray foam alone against a hot surface |
| Any size at soffit vents | Perforated weatherstripping or baffles | Gap is part of the soffit-to-ridge ventilation path | Never use solid caulk or foam to close a vent opening |
Small Gaps: Caulk and Weatherstripping
Small gaps are under one-quarter inch wide. Heat-rated caulk is the workhorse here, standard caulk cracks under attic temperature swings, so look for products labeled for high-temperature or attic use. Apply a bead, smooth it with a wet finger, and cure per the label. Perforated weatherstripping works where two surfaces meet and you want a compressible seal without fully blocking airflow.
Before caulking, press a putty knife into the gap. If the blade sinks in more than a quarter inch, the gap is larger than it looks and caulk alone will fail.
Medium Gaps: Low-Expansion Spray Foam
Medium gaps range from one-quarter to one inch. Low-expansion spray foam fills irregular shapes without crushing surrounding materials; regular foam expands aggressively and can warp framing or push insulation out of place. Apply in short bursts, you can always add more but cannot easily remove excess. Follow the can’s temperature and humidity instructions; foam performs poorly in cold or very humid conditions.
Do not use spray foam within 6 inches of a recessed light, chimney, flue, or any heat-producing fixture unless the product is explicitly rated for that clearance. Foam can ignite or degrade when exposed to heat.
Large Openings: Foam Board and Sheet Metal
Large openings are one inch or wider and need structural support, not just sealant. Rigid foam board cuts to fit and adds insulation value, cut pieces slightly larger than the opening for a snug fit, then seal edges with caulk or low-expansion foam. Sheet metal works for openings around pipes and vents; secure it with fasteners rated for attic temperatures, then seal the edges.
Location and Temperature Matter as Much as Size
How to Replace Rodent Damaged Insulation covers what to do if foam board or other materials sit on damaged insulation, you may need to replace that insulation first.
Maintaining Attic Eave Ventilation While Sealing
Air leaks are uncontrolled gaps that let conditioned air escape, wasting energy and inviting rodents.
Ventilation is controlled airflow from soffit vents (under the eaves) to ridge or gable vents (at the roof peak), which removes moisture.
When you seal gaps, make sure you’re not blocking soffit vents or the airflow path to the ridge. If a gap is part of the ventilation system, use perforated weatherstripping or baffles instead of solid sealants.
Installing Rodent-Proof Attic Vents
For large vent openings, consider cage-style vent covers designed specifically to block rodents while maintaining airflow. Learn how to block rodent access points in a foundation and other areas of your home. 5 Best Ways to Seal Rodent Entry Points includes detailed guidance on vent-sealing methods that preserve ventilation.
Step-by-Step Sealing Process for Attic Eaves
Now for the actual work. Follow these steps in order, treating safety and ventilation checks as part of the job.
Step 1: Plan Access Before You Climb
Eave gaps are often in cramped, obstructed areas. Decide how you’ll reach each gap before you start:
- From inside the attic is best for gaps along the ceiling-to-roof line and gable wall seams.
- From the roof may be necessary for gaps at the eave edge or where the attic is too tight to reach. Use roof jacks or a stable ladder and never work alone.
- From the ceiling below only when the gap is accessible after removing a light fixture or trim, and only with power off.
Set up task lighting so both hands are free. Wear a dust mask, gloves, and eye protection, and bring all materials up in one trip.
Never step on insulation alone; it will not support your weight. Walk on joists or lay a plywood walkway. Watch for electrical wires, junction boxes, and recessed lights, and turn off power to any circuit you will work near.
Step 2: Prepare and Clean Each Gap
Clear insulation blocking access and sweep out dust and debris so sealants bond. Use a wire brush or old toothbrush to remove loose material and old sealant. Reinspect after cleaning, debris often hides the true size, and you may need a different material. If you find moisture, mold, or staining, fix the moisture source before sealing or the problem will worsen.
Step 3: Protect Ventilation Paths with Baffles
Before sealing, identify every soffit vent and the airflow path to the ridge. Install baffles (rafter vents) to keep insulation and sealant out of the ventilation channel. Seal air leaks around baffle edges, but never seal the vent opening itself. If unsure whether a gap is a leak or a vent, treat it as a vent and use perforated weatherstripping or a baffle.
Step 4: Apply the Appropriate Sealant
Apply your chosen material according to its label:
- Caulk: use a caulking gun for control. Apply a steady bead along the entire gap and smooth it with a wet finger.
- Spray foam: shake the can per instructions, apply in short bursts, let it expand fully, then trim excess after it cures.
- Foam board or sheet metal: cut to fit, insert into the opening, and seal edges with caulk or foam.
Work deliberately. Keep fire-rated sealant and sheet metal for any gap near a chimney, flue, or heat-producing fixture.
Step 5: Allow Proper Curing Time
Don’t disturb sealant while it cures. Caulk typically needs 24 to 48 hours; spray foam cures in 8 to 24 hours depending on temperature and humidity. Foam board needs no curing, but wait before covering it with insulation. Cold or humid conditions slow curing.
Step 6: Verify the Seal
Sealing eave gaps is only effective if you preserve soffit-to-ridge ventilation. Seal the leaks, baffle the vents, and verify both before you call the job done.
If you find droppings, contaminated insulation, or extensive damage during any step, address cleanup. 5 Best Ways to Seal Rodent Entry Points covers entry points beyond the eaves.
Common Mistakes to Avoid When Sealing Eaves
If you’ve discovered rodent activity, contaminated insulation, or extensive damage, rodent cleanup services may be relevant. The business provides cleanup, sanitation, and restoration services.
Frequently Asked Questions
How can I seal gaps in attic eaves without blocking soffit ventilation?
Install baffles or vent spacers between the insulation and roof decking to maintain airflow while sealing gaps. Position sealant only on the outer edges and large openings, leaving soffit vents unobstructed. This preserves the continuous air path needed for proper attic ventilation while preventing rodent entry and heat loss through small gaps.
What materials work best for sealing gaps in attic eaves?
Material choice depends on gap size. Use weatherstripping or caulk for gaps under 1/4 inch, low-expansion spray foam for gaps 1/4 to 3 inches, and foam board or sheet metal for larger openings. Select heat-resistant caulk rated for attic temperatures. Avoid materials that shrink significantly or trap moisture, which can lead to condensation and mold.
How do I keep mice and rats from entering through attic eaves?
Seal all gaps and cracks in the eave area with appropriate materials, install rodent-proof vents with 1/8-inch screening, and eliminate gaps between the gable wall and roof. Rodents can fit through openings as small as 1/4 inch, so thorough sealing is essential. After sealing, inspect quarterly for new gaps created by settling or weather damage.
Do I need professional help to seal attic eaves, or can I do it myself?
If your attic shows signs of rodent damage or contamination, professional rodent infestation cleanup may be relevant.
